DIY Tiny Home Roofing Weatherproofing Tips
betbhai9.com whatsapp number, radhe exchange id, lotus365 login:DIY Tiny Home Roofing Weatherproofing Tips
Are you looking to weatherproof the roof of your tiny home but not sure where to start? Weatherproofing is essential to protect your home from the elements and ensure it remains comfortable and cozy all year round. In this article, we will provide you with some DIY tips on how to weatherproof the roof of your tiny home effectively.
Before we dive into the tips, it’s important to understand why weatherproofing is crucial for your tiny home. A properly weatherproofed roof can help prevent leaks, reduce energy costs, and extend the lifespan of your roof. By taking the time to weatherproof your roof, you can save yourself a lot of hassle and money down the line.
1. Inspect Your Roof Regularly
The first step in weatherproofing your tiny home’s roof is to inspect it regularly. Look for signs of wear and tear, such as missing or damaged shingles, cracks, or gaps. By catching any issues early on, you can prevent them from turning into more significant problems down the line.
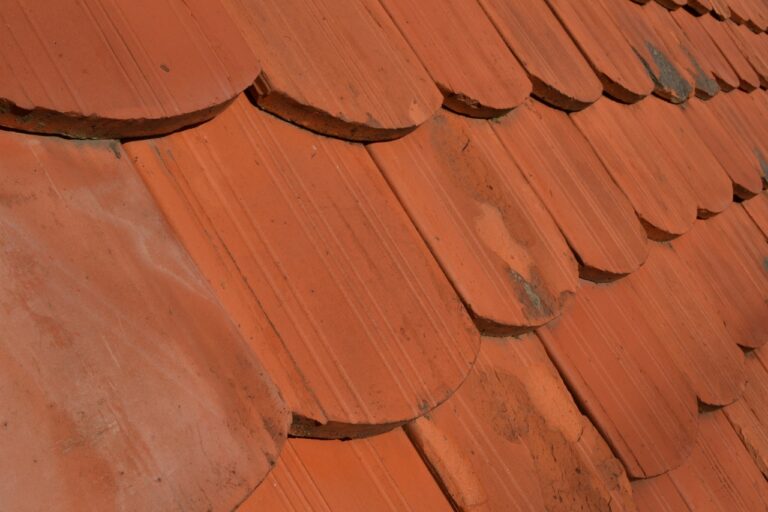
2. Replace Damaged Shingles
If you notice any damaged shingles during your inspection, it’s essential to replace them promptly. Damaged shingles can allow water to seep into your roof, leading to leaks and water damage. By replacing the damaged shingles, you can ensure that your roof remains watertight.
3. Seal Any Gaps
Another crucial step in weatherproofing your tiny home’s roof is to seal any gaps or cracks. Use a roofing sealant to fill in any gaps around vents, chimneys, or skylights. This will help prevent water from seeping into your home and causing damage.
4. Install Proper Insulation
Proper insulation is key to keeping your tiny home cozy and warm during the winter months. Make sure your roof is adequately insulated to prevent heat from escaping and to reduce energy costs.
5. Trim Overhanging Branches
Overhanging branches can cause damage to your roof during storms or high winds. Trim any branches that are too close to your roof to prevent them from falling and causing damage.
6. Clean Your Gutters Regularly
Clogged gutters can lead to water pooling on your roof, causing leaks and water damage. Make sure to clean your gutters regularly to prevent any issues. You can use a gutter scoop or a pressure washer to remove debris from your gutters effectively.
These are just a few DIY tips to help you weatherproof the roof of your tiny home. By taking the time to inspect your roof regularly, replace damaged shingles, seal any gaps, install proper insulation, trim overhanging branches, and clean your gutters, you can keep your tiny home safe and cozy no matter the weather.
FAQs
Q: How often should I inspect my roof?
A: It’s a good idea to inspect your roof at least twice a year, preferably in the spring and fall. This will help you catch any issues before they become more significant problems.
Q: Can I weatherproof my roof myself, or should I hire a professional?
A: While weatherproofing your roof yourself is possible, if you’re not comfortable with the process or if you have a more extensive issue, it’s best to hire a professional roofer to ensure the job is done correctly.
Q: What materials do I need to weatherproof my roof?
A: You may need roofing sealant, new shingles, insulation, a gutter scoop, and a pressure washer to weatherproof your roof effectively.
Q: How long does it take to weatherproof a tiny home roof?
A: The time it takes to weatherproof a roof will depend on the size of your tiny home and the extent of the work needed. It could take anywhere from a few hours to a few days to complete the project.
Weatherproofing your tiny home’s roof is essential to protect your investment and ensure your home remains comfortable and cozy. By following these DIY tips and being proactive about maintaining your roof, you can keep your tiny home safe from the elements for years to come.